Repairing the Windows
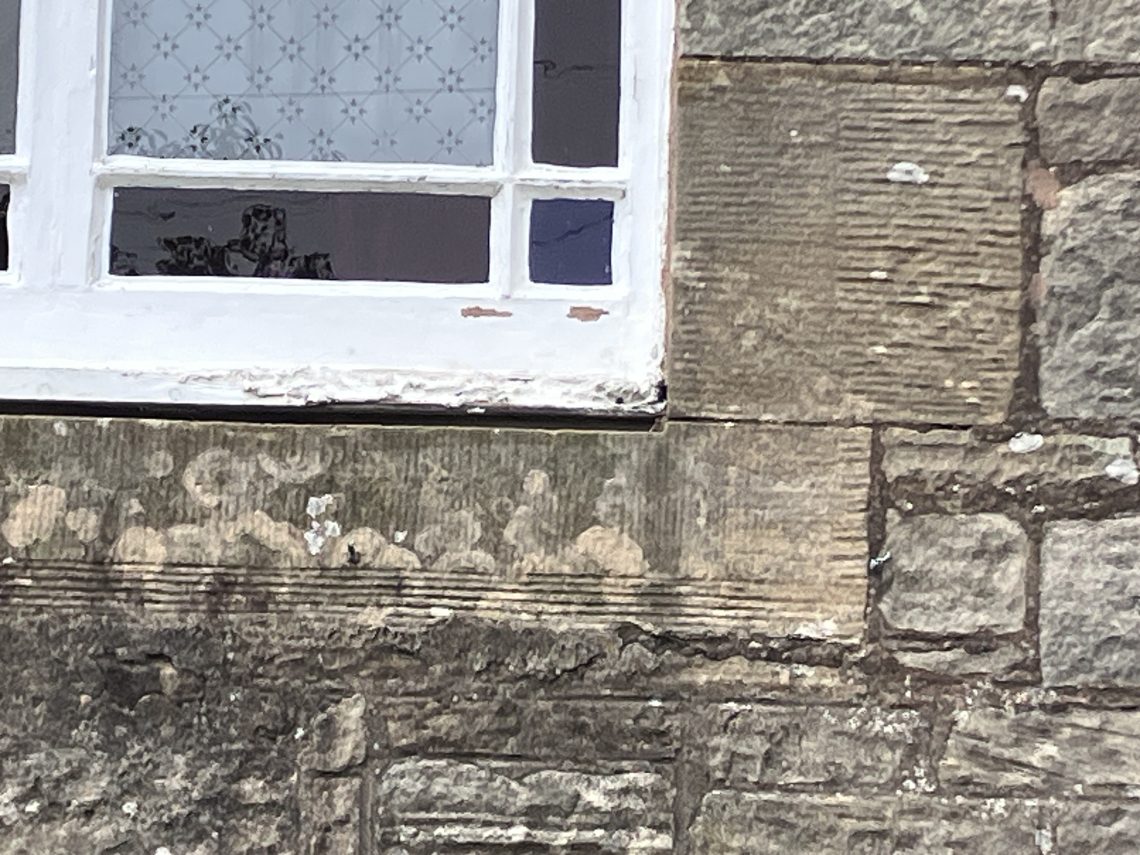
I noticed a few weeks ago that we had a patch of dodgy looking wood right under our big stained glass window. I realized that some repair work was going to be needed, so I bought the materials for it. Today I went up the high decorating ladder to take a closer look at it. Luckily this particular windowsill is only about 15 feet up and we were able to put the ladder into a pretty secure position on what I call our “Bridge of Sighs” which is just the little bridge leading out from the back door.
The area was rather worse than I had hoped it would be; the sill was quite badly decayed and it was just starting to go into the frame itself. Really the whole window sill should be replaced, but I lack the skills to do it (or more exactly, I don’t want to make my first attempt at doing it balanced on a ladder!), so I decided to carry out an emergency repair. First of all I dug all the decayed bits out with a Stanley knife – it was very spongy but not actually damp (we had waited for a dry day for it). Then once it was clean, I painted the area with a wood hardening solution (all the stuff from this was from Ronseal). I left it for 12 hours at this point to let it cure (it started to rain but we protected it by taping a black bin bag over it).
Then for the two part filler – this is specifically designed for this type of work. It is basically an epoxy resin (like a big boys’ Milliput) and you mix the paste in the jar with the hardening agent which comes in a little packet in the lid. Unlike Milliput it doesn’t take a lot of mixing. So then I went back up the ladder – the wood which had been crumbling was now rock hard, so I applied the filler very liberally, packing it right into all the cracks. You have 20 minutes before it starts to harden, so you have to move pretty quickly – in 30 minutes it is rock hard. There wasn’t enough filler to build up a full window sill – but there was enough to cover and I left it rough. I went up for another look an hour later, and it really was hard – I could have sanded it at this point. Instead, I want a nice effect, so I have bought another can of filler – when it comes I will put it on more smoothly and at least try to match the shape to the existing sill. I will then sand it off and paint it with weather proof exterior paint. This should see us until spring.

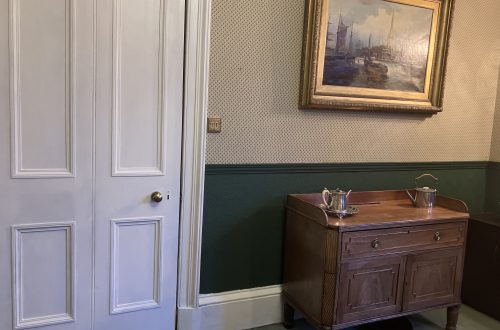
However, I also did an inspection of the rest of the window sills, and whilst none of them are anything like as bad as this one, there are several where the paint is flaking away and you can see the wood underneath is suffering. For the downstairs windows this is fine because I can easily give them some TLC myself. But for the upstairs windows the only way to do it is from the outside (requiring special kit like a cherry picker platform), or to open the window and do it from the inside. In the case of R’s study window this is problematic because we can’t open the window – like many other windows in the house it was ruined by the previous owners painting over it and removing the sash handles. We knew this needed fixing but we were hoping it would wait to next year – obviously it won’t so I have requested some quotes from specialist companies to completely overhaul the window. This time we are going for large reputable companies – we are not letting any more people who fall into the category of “People I found on Facebook” do any serious work on the house – we have now had our fingers burned with this once too often. This is the big window that will be getting restored first.